
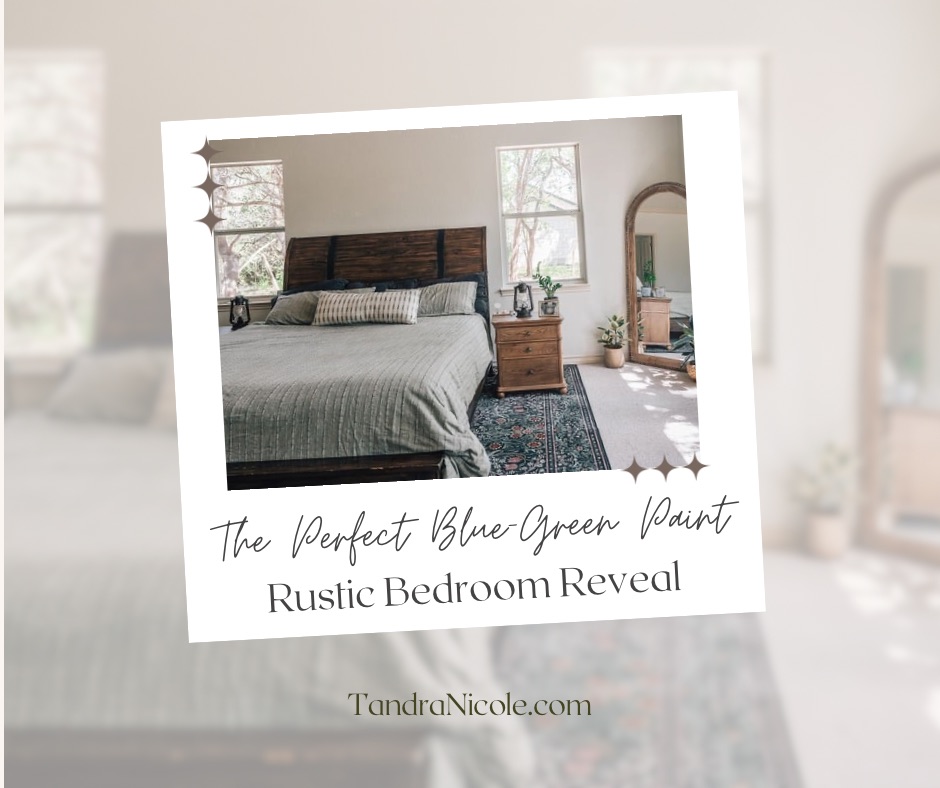
The Perfect Green Paint Color: Rustic Bedroom Reveal
Looking for the perfect green paint? See how I transformed our bedroom into a rustic, cozy oasis with this rich and calming hue. From paint selection to styling with natural textures and thoughtful decor, this reveal will inspire you to bring warmth and charm to your own space.
One of the first things I noticed during the virtual tour of our Texas home was the master bedroom and the beautiful light streaming through the windows.

As someone who loves natural light, I was immediately drawn to the abundance of windows in the space. We have two windows behind our bed and then 3 large windows that line the wall beside out bed.
However, once we moved in, I found myself struggling to decorate it. The white walls, beige-white carpet, and warm beige trim made the room feel overwhelmingly monochromatic and sterile.
With our recent move from New Jersey, replacing the carpet with wood floors wasn’t in the budget, so I had to get creative. I wanted to design a cozy, inviting space without breaking the bank.
I began by adding a dark rug to the room and incorporating the furniture we already had, but the space still felt too bright and didn’t capture the cozy vibe I was aiming for.
After plenty of brainstorming, I realized that a fresh coat of paint would be the most budget-friendly way to completely transform the room.
Choosing a Paint Color
When it was time to choose a paint color, I knew I wanted to darken the room but wasn’t sure how bold I wanted to go or which shade to pick.
With so many options, it felt overwhelming—where to even begin?
I decided to use my rug as the starting point. Its floral pattern and cozy vibe were perfect, so I drew inspiration from there and narrowed it down to green or blue for the bedroom.
With a general idea of the color I wanted, I headed to our local Lowe’s to browse paint samples.
The selection was overwhelming—so many options to choose from!
After a lot of back and forth, I narrowed it down to six colors and decided to purchase samples of each to test in the bedroom.

Finding Your Perfect Hue: Testing Paint Colors in Your Space
Choosing a paint color is one thing, but how it looks in your space is another.
That’s why testing paint samples is such an important step.
Colors can appear drastically different depending on lighting, time of day, and even the wall they’re on.
When I brought home my six sample colors, I painted swatches on a few different walls in the bedroom. This allowed me to see how each shade looked in both natural and artificial light. A color that felt perfect in the morning might look too dark at night—or vice versa!
I recommend testing colors on multiple walls because light hits each surface differently. A warm and inviting shade on one wall might appear cooler or more muted on another. Take your time and observe the samples over a few days to truly understand how they behave in your space.
Testing paint samples may feel like an extra step, but avoiding committing to a color that doesn’t fit the vibe you’re going for is worth it. After all, paint can transform a room—and you want to get it right!
In addition to testing them on different walls, I also wanted to test they beside my furniture I already had. I knew this was also something that wouldn’t be changing and I wanted them to look cohesive and calming together.
When Your First Paint Choice Doesn’t Feel Right
After painting my samples on each wall, I lived with the results for a week, but something still didn’t feel right.
I loved one of the colors, Northern Glenn, I think because it’s the color I always envisioned in my room, but it just didn’t click—it had a warm undertone that clashed with my rug. That’s when I realized I probably needed a green with cooler undertones.
Back to Lowe’s I went, determined to find the right shade. I came home with a green featuring cool undertones and, just to cover all my bases, added a light and a dark blue to the mix.
Testing these new options helped me feel confident that I was finally on the right track.

The Moment I Found the One
Once I applied Hanging Vine to the wall, I instantly knew it was the one.
The color felt perfect—rich and calming—but I worried it might make the space feel too dark. To be sure, I painted a larger swatch on the wall to get a better sense of how it would look in the room.
Again, I gave myself time to live with it, letting the color sit on the wall for a week or two. Observing it at different times of the day helped me feel confident in my choice before fully committing to painting the entire space.
Why Living With the Color Matters
A few years ago, I learned the hard way why it’s so important to live with a paint color before fully committing. I had this great idea to paint my kitchen island a beautiful gray.
Without testing it first, I dove in headfirst and painted the entire thing. But once it was done, I realized it didn’t look gray at all. Depending on the time of day, it leaned blue or even purple—and I absolutely hated it.
I couldn’t stand how it clashed with the rest of my space, so just a few days later, I repainted the island white.
That experience taught me that even a color you love can look completely different once it’s on a surface and in your space.
This is why I always recommend testing paint samples and spending time with them on your walls.
Colors shift with lighting, shadows, and surrounding decor, so what looks perfect on a paint chip or in the store might not feel the same at home.
Taking the time to live with the color—especially in larger swatches—ensures you won’t end up rushing to repaint like I did.
It’s a small step that can save a lot of frustration (and extra work) down the road!
Prepping the Room for Painting

The first step in any painting project is preparation, and it’s one I don’t take lightly anymore. I headed to Lowe’s to gather everything I needed to make the process as smooth as possible.
I picked up drop cloths to protect my floors, painter’s tape for clean lines along the trim, and a 2-inch brush for smaller, detailed areas.
For the main walls, I grabbed a roller and a sturdy paint tray to cover larger spaces efficiently.
Before I started painting, I moved furniture away from walls (as much as I could) and covered anything that couldn’t be moved.
I used the painter’s tape to carefully outline the trim, baseboards, and any other areas I didn’t want painted—this step is key for achieving those sharp, professional-looking edges. It takes awhile but it’s worth it.
I also removed light switch covers and outlet covers.
One thing I’ve learned over time is that the right tools make all the difference.
Using a high-quality roller gives you even coverage, while a good brush helps you tackle corners and edges without frustration.
Taking the time to prep properly not only protects your space but also makes the actual painting process so much easier and more enjoyable.
The Transformation: Painting the Space

As I started painting the bedroom, I was filled with excitement, imagining how the space would look with the new color.
But as the paint began to dry, worry crept in. Was the color too dark?
One wall started pulling more blue than green, and for a moment, I thought I’d made a huge mistake.
Even my husband, who’s usually pretty hands-off when it comes to decorating decisions, raised an eyebrow and asked if I was sure about this choice.
To add to the challenge, our Texas walls are textured, and if you’ve never painted textured walls before, let me tell you—it’s no easy task.
Getting paint into all those tiny crevices takes extra effort, and it can feel like you’re fighting an uphill battle to achieve smooth, even coverage.
Despite my doubts and the challenges, I told myself to stick it out and finish the room before making any final judgments.
After all, paint always looks different when the job is complete. By the time I finished the second coat, the blue tones had settled back into the rich green I’d envisioned.
It turns out the lighting and the thinness of the first coat were playing tricks on me.
Once the room was fully painted, I stood back and took it all in—and I absolutely loved it.
The color transformed the bedroom into a cozy, cozy retreat, just like I had hoped. That moment made all the worry and hard work worth it.

The Final Reveal
A quick reminder of where we started with neutral walls.

And after, a cozy retreat.
After weeks of planning, testing paint samples, and carefully painting every inch of the bedroom, the transformation was complete.
Stepping into the room felt like stepping into an entirely new space. The rich green walls paired beautifully with the textures and patterns in the room, from the floral rug to the soft, neutral bedding.
Everything came together to create the cozy, serene retreat I had envisioned.
What I love most is how the color adds depth and personality without overpowering the room.
It feels balanced and inviting—a space that’s perfect for relaxing at the end of a long day.
The textured walls, which had been so challenging to paint, now add character. The green hue changes slightly with the light throughout the day, giving the room an ever-changing, dynamic feel.

This project reminded me why I love putting thought and effort into my home.
It’s not just about making it look good; it’s about creating a space that feels good.
Now, every time I walk into the room, I feel a sense of peace and accomplishment. This is more than just a bedroom—it’s my little sanctuary.

Looking Ahead to More Cozy Projects
So what do you think? I’d love to hear your thoughts below on how this transformation turned out!
And this is just the beginning! I have so many more home projects planned, and I can’t wait to share them with you.
Don’t forget to save this pin for your next green paint inspiration!

One of the final touches I added to the bedroom was charming light switch covers that truly tie everything together. They’re a small detail but make a big difference in elevating the space. You can read all about how I chose and installed them here.

Join me on Instagram, Facebook, Pinterest, and YouTube for more inspiration on nurturing homes and hearts for the season!
Stay tuned for more transformations and cozy upgrades! Xoxo- Tandra